The Playing Cards Nail Art
Hey gals, I’m Vidhi and I wanted to share with you all a nail art I recently created! I’m a nail art addict and creator of many such cute and sexy designs.
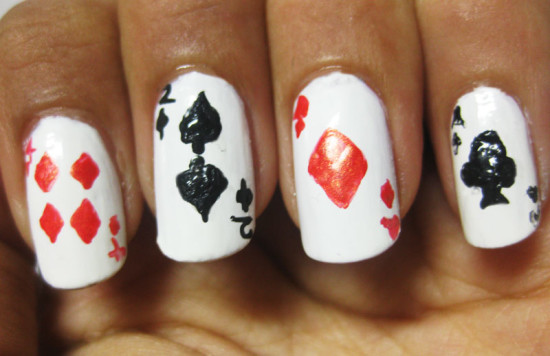
This nail art is particularly awesome if you are planning to go to a casino or maybe just having a poker night with your close friends. THE PLAYING CARDS nail art!! Awesome right? Yep I love it too. Here is how you do it..
Things you need:
- Ranara Base coat.
- White nail polish.
- Black nail polish.
- Red nail polish.
- Toothpicks.
- Asepta Top coat.
Tips:
- To draw a heart shape easily, make a ‘<’ vertically first and then make a ‘3’. Fill in for a perfect heart.
- To draw a club shape easily, draw three dots (one in the center and two below).Fill in the spaces between the dots.
- To draw a spade easily, draw a heart first and just make a line from the center of the’3’.
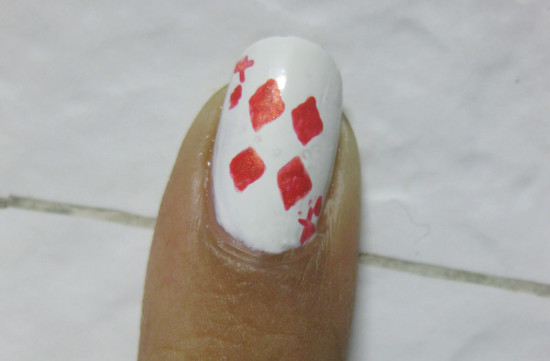
- To draw a diamond easily make two inverted triangles and fill in the inside of the triangles.
Step One: Apply base coat to protect your natural nails. It’s mandatory because it protects your nail from staining.
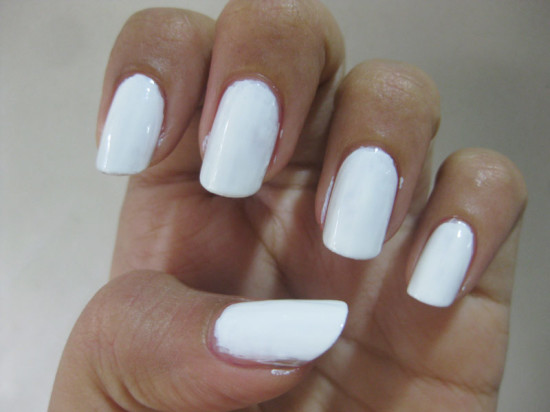
Step Two: Apply two coats of white polish and allow it to dry.
Step Three: Using a toothpick dipped in black polish make a rough club shaped outline at the middle of the nail. Fill in the inside once you get your desired design.
Write ‘A’ at two ends of the nail. Do two very small clubs below the ‘A’ (if it’s too difficult for you, just put two small dots below the ‘A’)
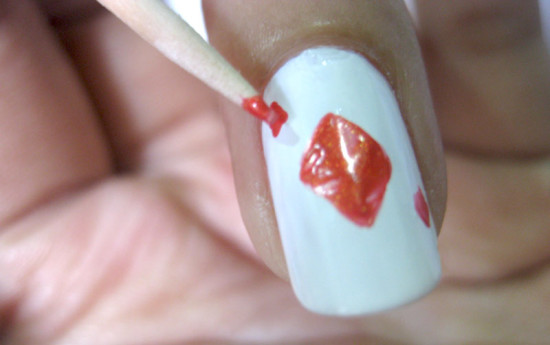
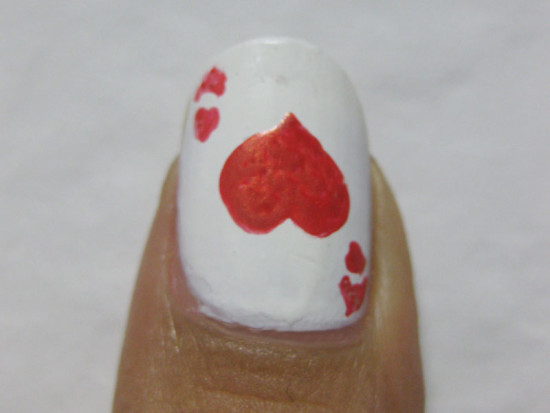
Step Four: Using another toothpick dipped in red nail polish, make a diamond at the center of one nail and a heart at the center of other. Write ‘A’ similar to how we did in step three.
Thus our Ace of Diamonds, hearts and clubs are ready.
Step Five: For the two of spade, dip the toothpick in black polish and do two spades pointing opposite directions. Write ‘2’ on opposite corners of your nail and do a very small spade below it.
Step Six: For the four of diamonds, dip a new toothpick in red polish and draw four diamonds. Try to make the diamonds equally sized. Write ’4’ at opposite ends of the nail.
Step Seven: Applying top coat is essential here. This gives your nail art a finished shiny look and prevents it from chipping away.
Products used for this nail art:
1. RANARA BASE COAT. Buy here.
2. MAYBELLINE COLORAMA CREMOSO BLACK NAIL POLISH.
3. ASEPTA CLEAR AND SHINY TOP COAT. Buy here.
4. LAKME TRUEWEAR COLOR CRUSH NAIL POLISH 08. Buy here.
5. LOREAL COLOR RICHE EXQUISITE SCARLET NAIL POLISH 408. Buy here.
I hope you all loved this nail art and can’t wait to try it on!
For many such cute and creative nail art tutorials and other makeup and beauty tips, visit my website www.gonetrendy.com . Hoping to see you there J Adios!
Wow! This is highly creative. 🙂
Thanks Indrani 🙂
Wow ! Nice designs !!
Glad you like it 🙂
This is damn creative and would earn quita a few glances at a poker table, I dare say.
Nobody will be able to maintain a “POKER FACE”… 😀
that’s a pretty nice complement!!!
haha thanks 🙂
wow Vidhi…you are a nail art rock star 🙂
Thanks *blush* still have a lot to learn Swati 😛
that’s the spirit dear 🙂
That’s a wonderful nail art! Beautifully explained! 🙂
thanks Bushra 🙂
it has a signature mark of you Vidhi 🙂 Nice!!
Haha..Thanks jack 🙂
My brother suggested I may like this blog. He ussed to be entirely right.
This submit actually mazde my day. You can nott believe simply howw a lot time I had spent for this information! Thank you!